| Anchor | ||||
|---|---|---|---|---|
|
In This Topic
| Table of Contents | ||||
|---|---|---|---|---|
|
...
Creating Users
To create a user profile, follow these steps:
- Click the [User Profiles] tab:

- Click [Add User]. Four tabs appear below "Search Results": [User Details], [Groups], [Newsletters], and [Statistics]:
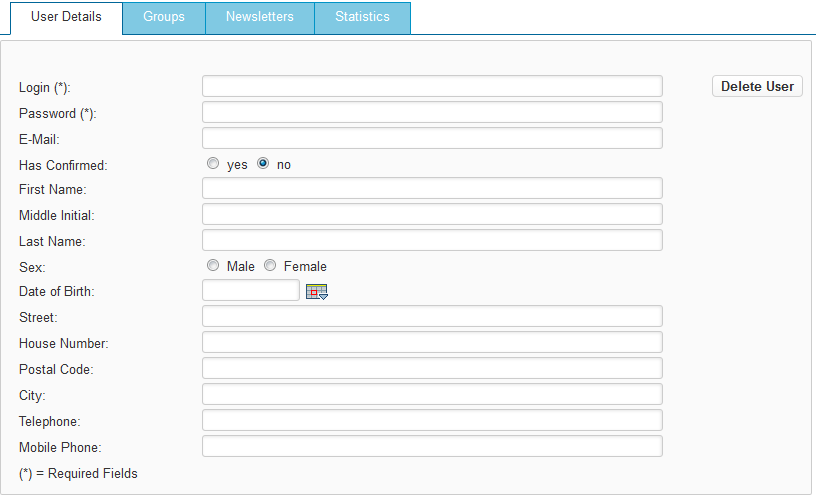
- Enter the information for the new user in the [User Details] tab by filling in the fields. The fields "Login" and "Password" are mandatory — the rest of the fields are optional.
- Click [Apply]. The new user is created. For example:

...
...
| Anchor | ||||
|---|---|---|---|---|
|
...
The following is an example result from the search:
The search returned the users "carolineh", "carls", and "oscarm" because they match the partial search term "car".
In the following example, users who registered between June 6, 2013 and January 14 2014 are searched for: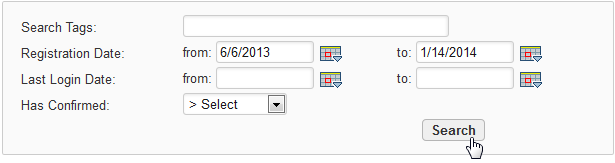
...
Modifying User Profiles
To modify a user's details, perform a search as described in the section Searching for Users. When the results are returned, click the user whose details you want to modify in the "Search Results" list. For example: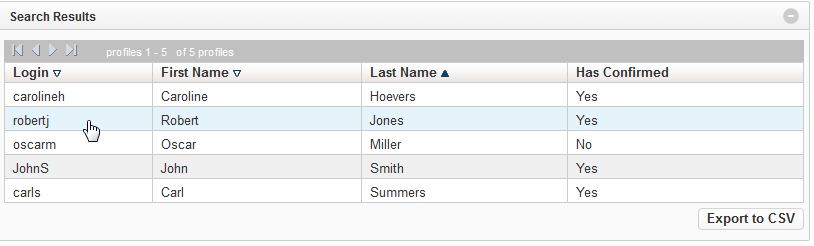
The full details for the user now appear: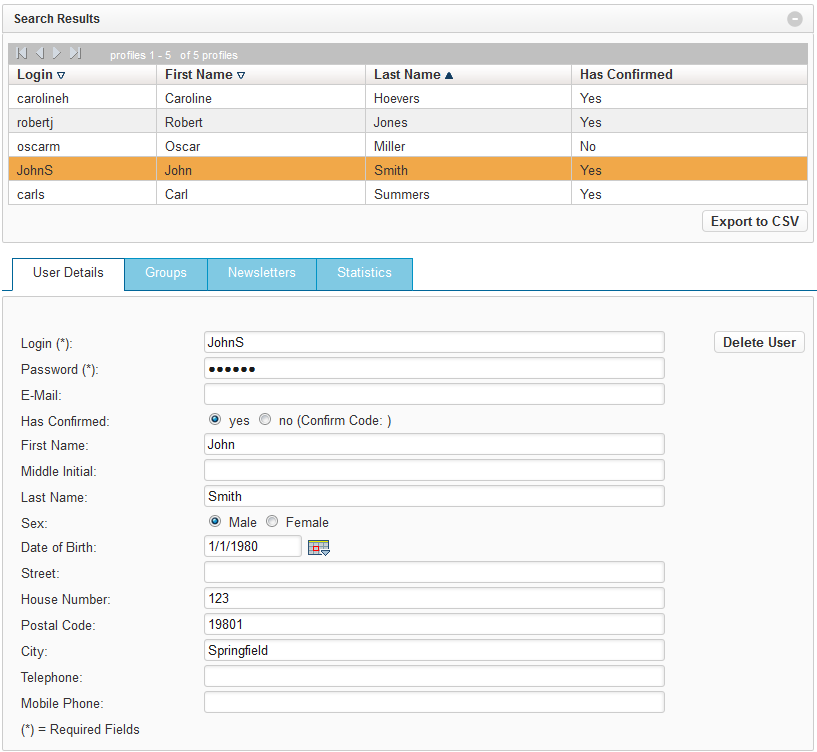
Make the modifications to the user's details and then click [Apply]. The changes are saved.
...
Assigning Newsletter Subscriptions to Users
...
- HTML — the e-mail will be formatted as HTML.
- Text — the e-mail will be formatted as plain text.
Click [Apply].
...
User Statistics
On the [Statistics] tab, you can view details regarding a user's website visits and account statistics. For example: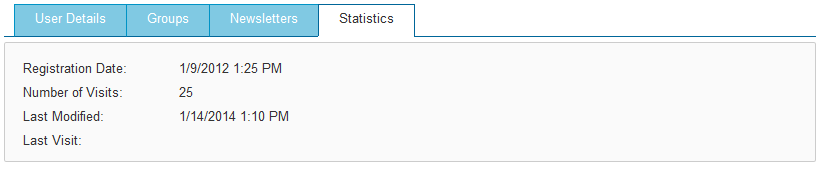
The meaning of the statistics is as follows:
| Statistic | Description |
|---|---|
| Registration date | The date and time the user's profile was created. |
| Number of visits | The number of times the user has logged in to the website since their user profile was created. |
| Last modified | The date and time that the user's profile was last modified. |
| Last visit | The date and time that the user most recently logged in. |
...
Exporting User Properties
...
- Enter the search criteria for the user or users whose data you want to export. To return all users, leave all the search fields blank.
- Click [Search]. The user or users matching the search criteria are returned.
- Click [Export to CSV].
- At the "File Download" prompt, click [Save].
- Specify the location where you want to save the exported user data. By default the name of the exported file is "GX_user_profiles_[host name]_[current date].csv".
- Click [Save].
Exported User Data Example
The following shows an example of exported user data opened in a Microsoft Excel spreadsheet.
