...
| Expand | ||||||||||||||||
|---|---|---|---|---|---|---|---|---|---|---|---|---|---|---|---|---|
| ||||||||||||||||
In This Topic
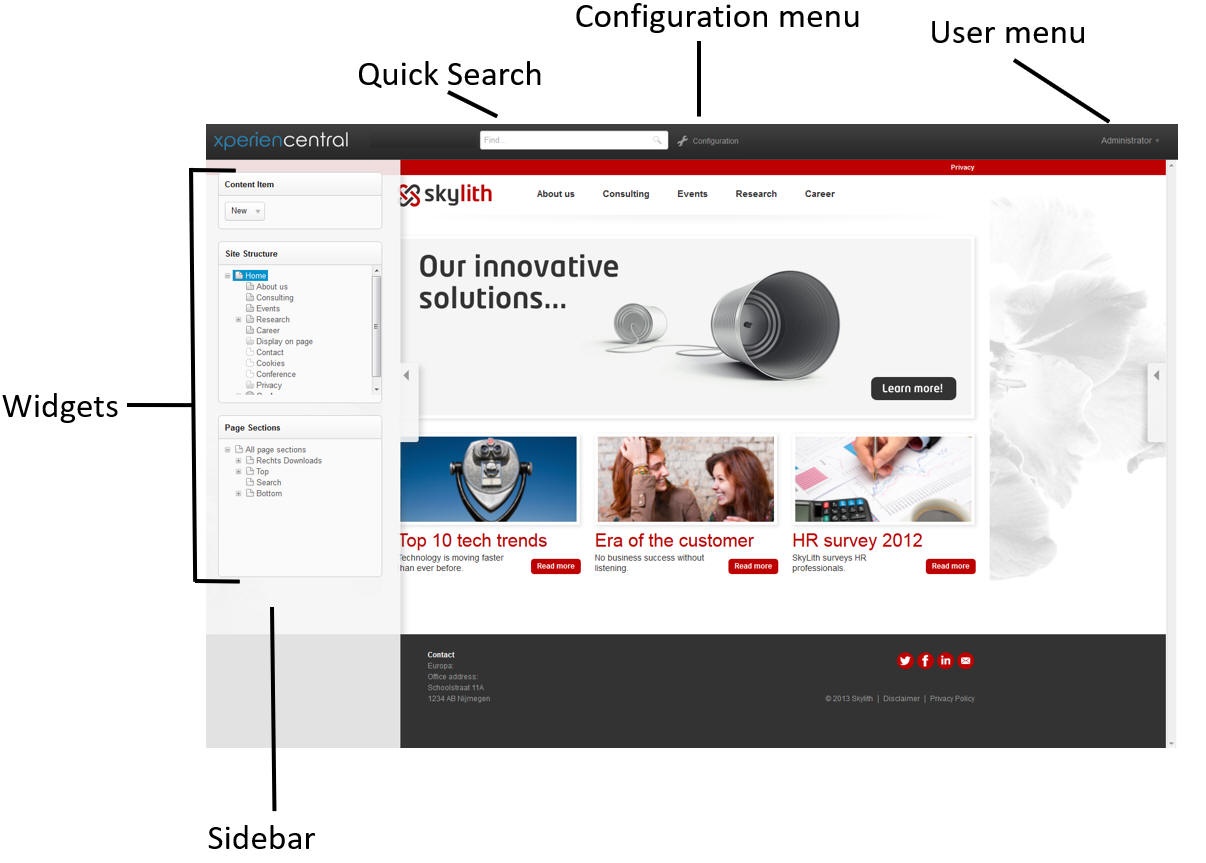
Workspace OverviewThe parts of the Workspace are shown in the figure below:
Customizing the SidebarsThe sidebars in the Workspace can be fully customized according to your personal preferences. You can resize the sidebars, add or remove widgets, and arrange the widgets exactly how you want them. The left and right sidebars of the Workspace work exactly the same: Each has a tab containing icons that allow you to minimize and maximize the sidebar, drag and resize the sidebar to your desired width, pin the sidebar to the Workspace, and add widgets. Widgets can also be dragged up and down in the same sidebar in order to rearrange the order in which they appear from top to bottom or you can drag a widget from the left to the right sidebar and vice versa. Adding WidgetsUsing widgets, you interact with the structure of your website, preview content, modify the properties of content items, and can see references between content items. XperienCentral contains seven default widgets that you can add to the Workspace sidebars. Your application manager and developers can develop their own widgets and easily add them to XperienCentral. Contact them for information on using widgets which are custom to your project. Click one of the following for information on the default XperienCentral widgets:
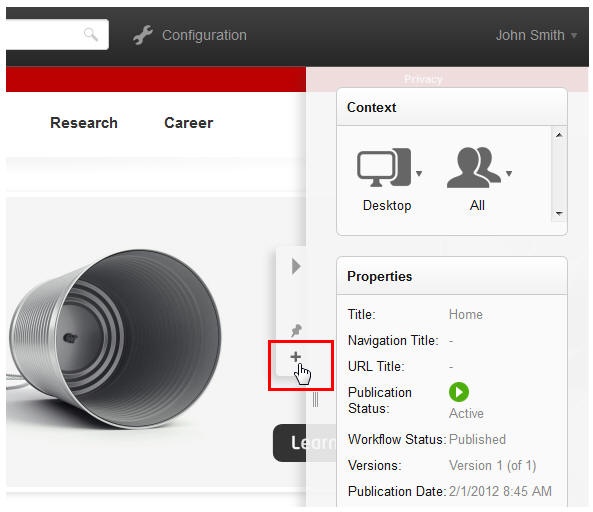
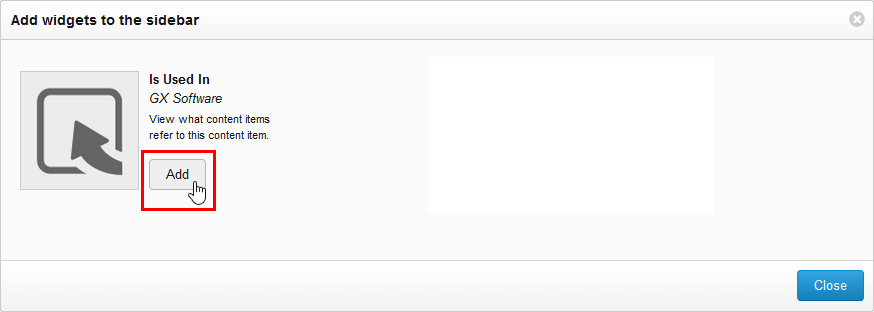
To add a widget to a sidebar, follow these steps:
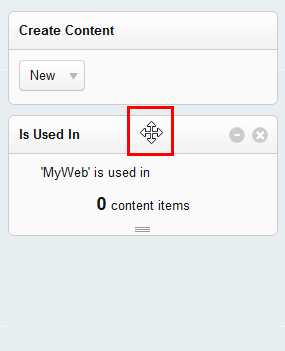
Moving WidgetsThe widgets in the sidebars of your Workspace can be dragged and moved around to suit your preferences at any time. You can arrange the widgets any way you like from top to bottom and you can also drag a widget from one Sidebar to the other. To rearrange widgets within a sidebar, follow these steps:
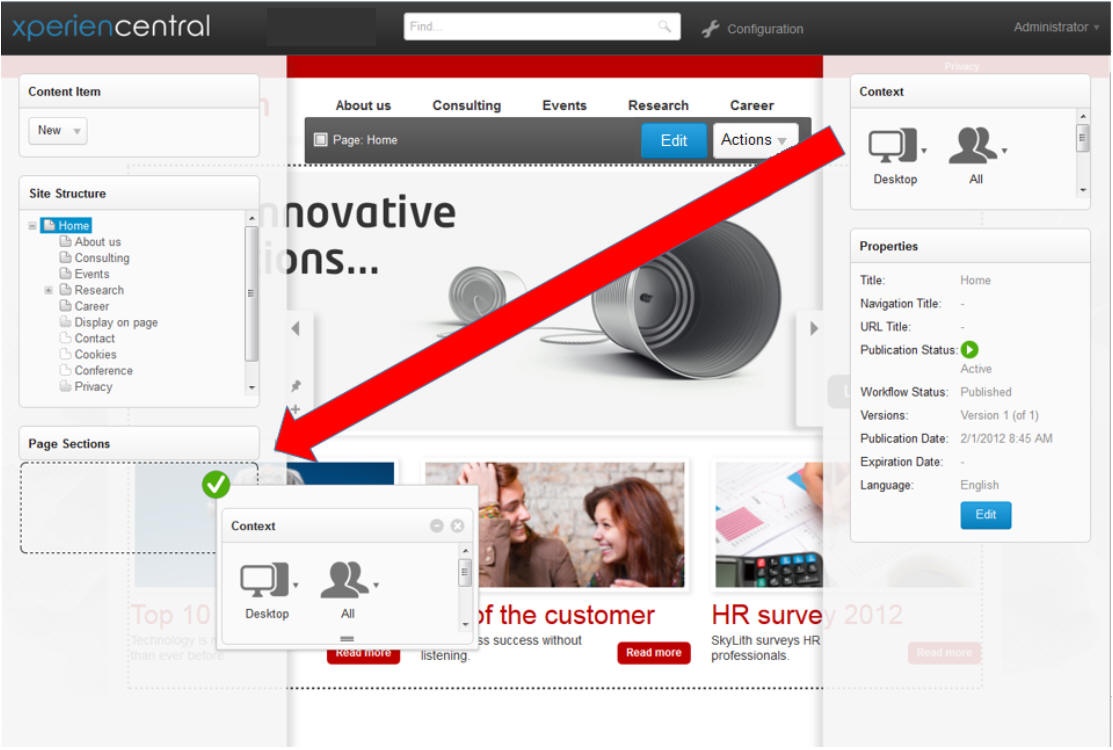
To move a widget from one sidebar to the other, follow these steps:
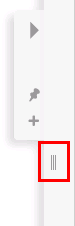
Manually Resizing the SidebarsThe sidebars can be resized to any desired width. This is done by clicking and dragging the Resizer. To resize a sidebar using the Resizer:
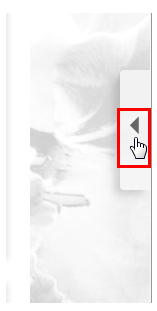
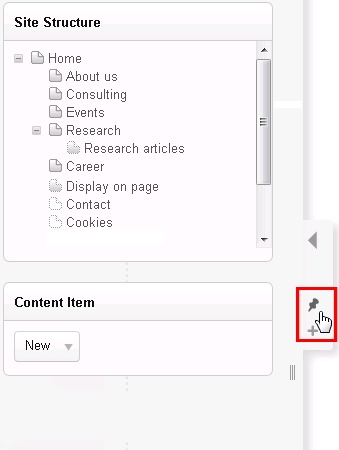
Expanding and Collapsing the SidebarsThe sidebars can be expanded and collapsed with the single click of the mouse. To collapse a sidebar, click the Collapse button in the sidebar's anchor. The sidebar collapses. To expand a sidebar, click the expand button in the sidebar's anchor. The sidebar expands. Navigating in the SidebarsWhen the sidebar contains more widgets than can be displayed in one view vertically, a scrollbar appears (on the left side of the right sidebar and on the right side of the left sidebar). Drag the scrollbar and down to access the widgets that are out of view. Floating Versus DockedThe sidebars have two modes: floating and docked. In floating mode, content can appear behind the sidebars — the sidebar is partially transparent and the content behind it can be seen. In docked mode, a sidebar claims the part of the screen where it is and content in the content item is adjusted so that all of it remains visible. To switch to docked mode, hover the mouse over the sidebar's tab (right of the left sidebar and left of the right sidebar) and click the pin icon. The tab disappears and the edge of the sidebar is flush to the content. To switch to floating mode, hover the mouse over the sidebar's tab (right of the left sidebar and left of the right sidebar) and click the pin icon. The sidebar tab appears and the content adjusts so that part of it appears behind the sidebar.
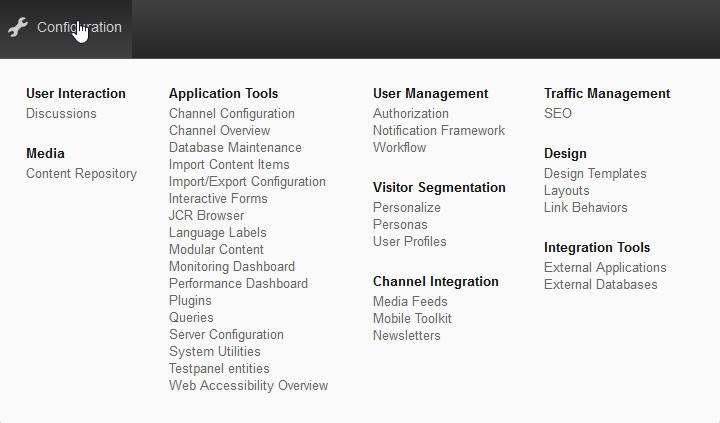
Configuration MenuIn the top bar of the Workspace there is a link to the XperienCentral Configuration menu. When you click Configuration, a menu appears which contains all the XperienCentral functionality categorized into functional groups.
User MenuThe User menu, located at the top right part of the Workspace, can be accessed by clicking your username. For example:
The drop-down list consists of the following options:
Browser Spell CheckersText in property fields in XperienCentral can be checked by browser spell checkers. Beginning in version R38, however text in the Editor can also cannot be spell-checked. You can manage the languages that each of the supported browsers checks for spelling. Click a link below for more information: |

...