In This Topic
Eclipse is an Integrated Development Environment (IDE) for Java development. Plugins from Eclipse can make Eclipse also suitable for the development of other languages. There is, for instance, a C development environment based on Eclipse.
Installing Eclipse
A Java Development Kit (JDK) must be available in order to run Eclipse. This quick start guide assumes you are installing the JDK referenced in the XperienCentral Hardware and Software Requirements. The JDK is available from http://java.sun.com/javase/downloads/index_jdk5.jsp.
- Download Eclipse from http://www.eclipse.org/downloads/.
- Create the folder
C:\GX\and unpack the downloadedeclipse-(…)-win32.zipfile to this folder. TheC:\GX\eclipsefolder is generated. When the installation is complete, Eclipse can be started by double-clicking theC:\GX\eclipse\eclipse.exeexecutable. Select a workspace or create one. For example:
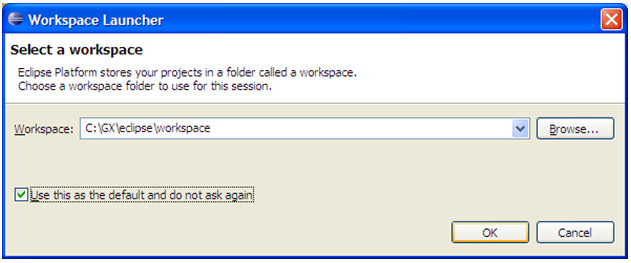
Throughout the instructions appearing in this topic, the example workspace shown above isn’t used. This step is only necessary because Eclipse requires you to define a workspace.
Continue with the rest of the configuration and then close this tab.
Configuring Eclipse
In the Window > Preferences > Java > Installed JREs menu, verify that Eclipse uses the Java Software Development Kit (j2sdk) as a default and not the Java Runtime Environment (JRE) (if necessary, the j2sdk can be added using the [Add] button):
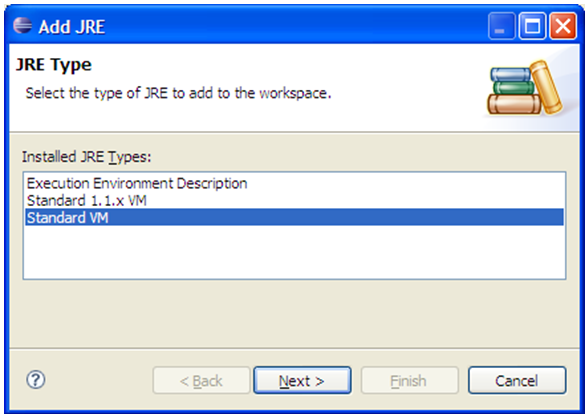
If the Java Software Development Kit is not selected by default, a message appears when you create a project warning you that the tools.jar cannot be found. This must be set correctly before defining a project or the project will have to be discarded and you must start all over again.
Configuring Eclipse to Develop Plugins
Before continuing the configuring process of Eclipse, it is necessary to install XperienCentral, which is available from GX. This topic assumes you are installing the latest version of XperienCentralinstall in the directory C:\GX\XperienCentral.
In the Window > Preferences > Java > Build path > Classpath variables menu, add the Maven2 repository by clicking [New].
- Name: M2_REPO
- Path (folder): C:\GX\xperiencentral\maven2-repository
Tag Libraries (Taglibs)
To be able to use tag-expansion (CTRL-space using the default configuration) while developing JSP’s on XperienCentral-specific tags, modify the following settings. In the Window > Preferences > XML > XML Catalog menu, click [Add], and click the folder button at the top-right and select FileSystem. Fill in the following values:
wmedit tags
URI: C:\GX\XperienCentral\webapps\backend\WEB-INF\wm\tld\wmedit.tld
Key Type: URI
Key: http://www.gxsoftware.com/taglib/wmedit
wm tags
URI: C:\GX\ XperienCentral\webapps\backend\WEB-INF\wm\tld\wm.tld
Key Type: URI
Key: http://www.gx.nl/taglib/wm
wmfn (function) tags
URI: C:\GX\ XperienCentral\webapps\backend\WEB-INF\wm\tld\functions.tld
Key Type: URI
Key: http://www.gxsoftware.com/taglib/functions
If your Eclipse installation does not include the standard JSTL and Spring taglibs you can add the following useful tags:
jstl c (core) tags
URI: C:\GX\XperienCentral\webapps\backend\WEB-INF\wm\tld\jstl\c.tld
Key Type: URI
Key: http://java.sun.com/jsp/jstl/core
jstl fn (functions) tags
URI: C:\GX\ XperienCentral\webapps\backend\WEB-INF\wm\tld\jstl\fn.tld
Key Type: URI
Key: http://java.sun.com/jsp/jstl/functions
jstl fmt (formatting) tags
URI: C:\GX\ XperienCentral\webapps\backend\WEB-INF\wm\tld\jstl\fmt.tld
Key Type: URI
Key: http://java.sun.com/jsp/jstl/fmt
Configuring Eclipse for Developing Certified Plugins
The configuration files mentioned below are available as attachments to this page.
Clean up, Code Templates and Formatter
- Open the Window > Preferences > Java > Code Style section of the Eclipse workspace configuration.
- Import the
eclipse_cleanup.xmlfile in the "Clean up" section: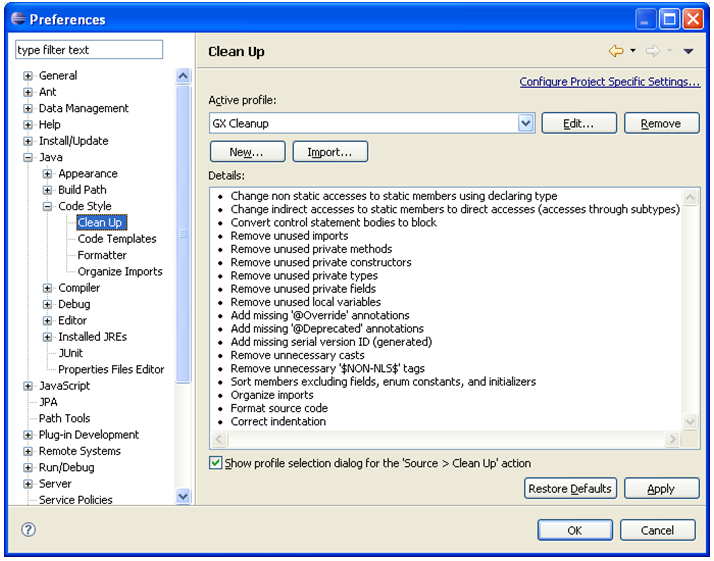
Import the
eclipse_code_templates.xmlfile in the "Code Templates" section: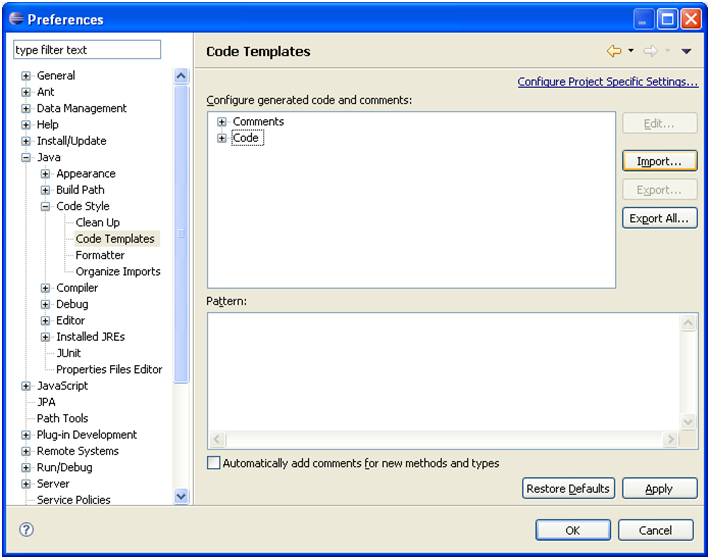
Import the eclipse_formatter.xml file in the "Formatter" section: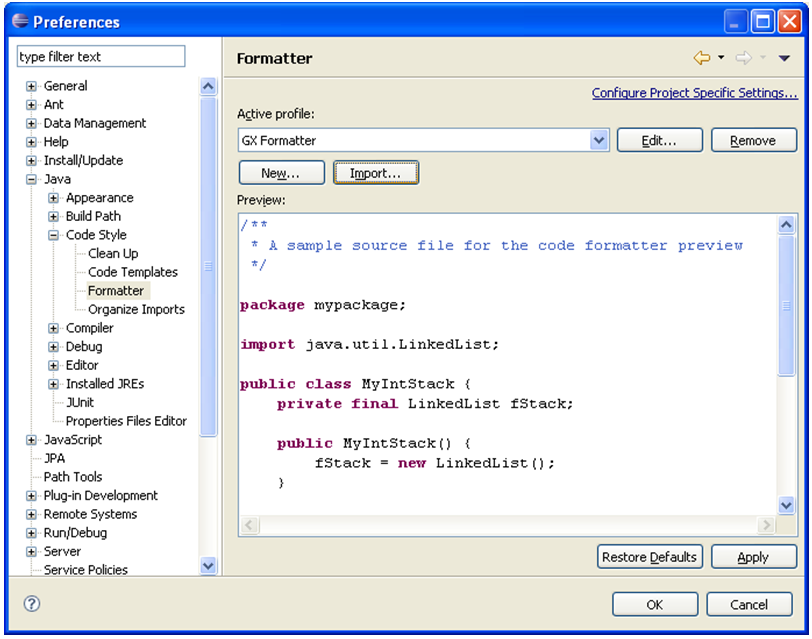
Checkstyle
The last file, checkstyle_gx_4.4.xml or checkstyle_gx_5.0.xml, the Checkstyle 4.4 or 5.0 coding conventions, require the Checkstyle plug-in. If this plug-in is not available under Window > Preferences menu, it is possible to install the plug-in via the following steps:
- Navigate to Help > Software Updates > Available software.
- Choose Add site.
- Input the following URL: http://eclipse-cs.sourceforge.net/update.
- Select the Eclipse Checkstyle Plug-in and click [Install].

Navigate through the subsequent pages to install the plug-in.
Restart Eclipse.
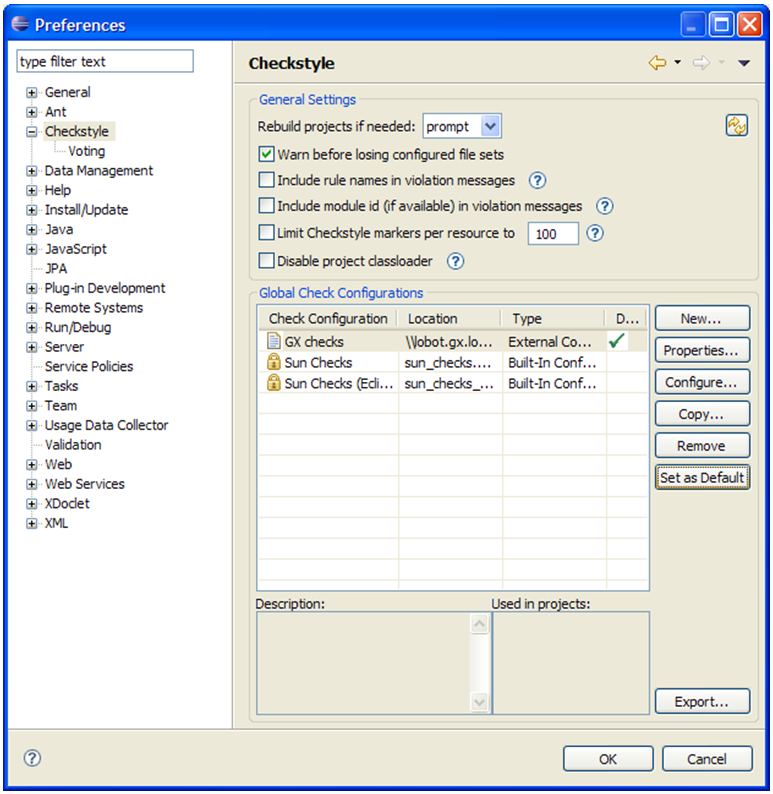
After installed configure the plug-in as follows:
- Navigate to Window > Preferences > Checkstyle.
- Click [New].
- Select an external configuration.
- Select a name (“GX checks” for example), and set the location to the attached
GX-checkstyle.xmlfile and click [OK].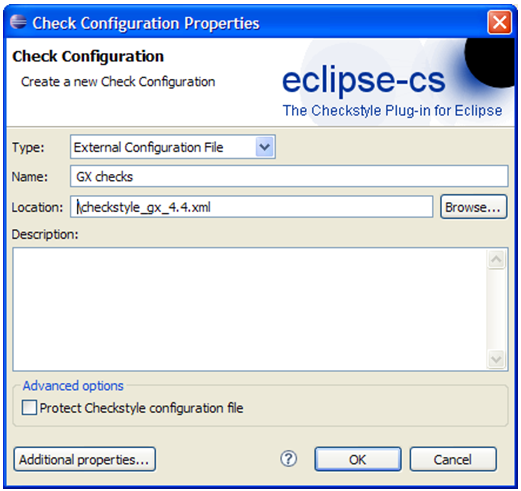
- Select the new configuration in the list and click [Set as default] and then click [OK].