In This Topic
Adding PersonalizationsTo personalize content, follow these steps: - Double-click on the content item or hover over the title and select [Edit] to enter Edit mode.
- If you want to personalize a content element, click it to select it. To personalize rich text, highlight it.
- Click the Personalization icon in the Editor toolbar:

A dialog box appears from which you can select the personalization.
- Select the category to which the personalization belongs to (if applicable) from the "Select a Category" drop-down list.
- Select the personalization from the "Select a Personalization" drop-down list. For example:
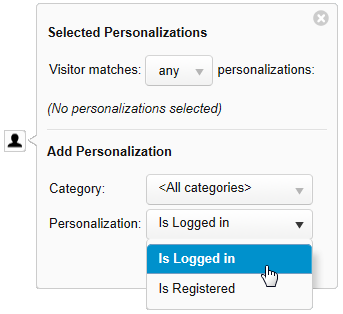
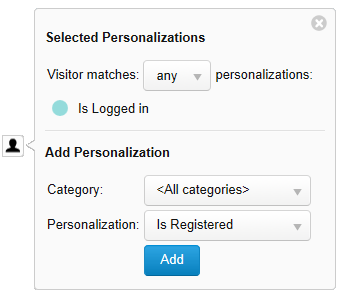
- Click [Add]. The personalization is assigned to the content. A small "personalization" icon appears next to the content that has been personalized. The name of the personalization appears in the "Selected Personalizations" dialog box and a colored circle appears showing the color assigned to the personalization, For example:
When you are in Edit mode, the content appears in the color assigned to the personalization.
Back to top
Color CodingXperienCentral uses color coding to indicate that content has one or more personalization assigned to it. Once a color has been assigned to a personalization, then that same color is used for that personalization everywhere it is used in the web initiativechannel. For example, if you create a personalization named "Is Logged In" and XperienCentral assigns it to appear green, then from that point on, "Is Logged In" will always appear green wherever it is used and no other personalization can be assigned to green. Personalizations are managed by your application manager. Contact him or her for complete information on which personalizations are available for use.
Back to top
Multiple PersonalizationsYou can assign more than one personalization to the same content. When you do so, you have the option of defining whether there is an "AND" or "OR" relationship between the personalizations. When "AND" (all) is defined, the content will only be displayed when all personalizations are matched. When "OR" (any) is defined, the visitor will see the content when they match any of the assigned personalizations. To assign multiple personalizations to content, follow these steps: - Double-click on the content item or hover over the title and select [Edit] to enter Edit mode.
- Select the content that you want to personalize.
- Click the Personalize button in the Toolbar.
- Select the personalization from the "Personalization" drop-down list.
- Click [Add].
- Repeat the previous two steps for each personalization you want to assign to the content.
All personalizations assigned to the content appear in the list. For example:
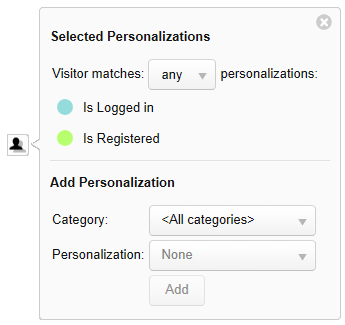
When multiple personalizations are assigned to content, the colors are blended into a striped configuration.
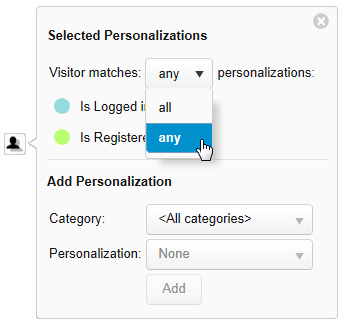
- Select whether the personalizations have an AND (all) or an OR (any) relationship with each other from the drop-down list. For example:
Back to top
Editing Personalization AssignmentsTo modify the personalization(s) assigned to content, follow these steps: - Double-click on the content item or hover over the title and select [Edit] to enter Edit mode.
- Click the personalization icon to the right of the content to open the Select Personalization dialog box.
- Modify the personalization assignments as desired.
- Close the Select Personalizations dialog box by clicking the Close icon in the upper right corner.
Removing a PersonalizationTo remove a personalization from content, follow these steps: - Double-click on the content item or hover over the title and select [Edit] to enter Edit mode.
- Click the Personalization icon to the right of the content in the Editor. The Select Personalizations light box appears.
- In the list of personalizations in the "Selected Personalizations" dialog box, hover the mouse over the personalization you want to remove and click the "X" to the right of it. For example:
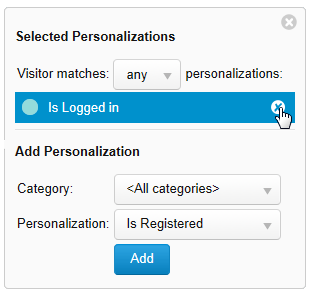
The personalization is removed from the content.
Back to top
|