| Anchor | ||||
|---|---|---|---|---|
|
| Info |
|---|
Layouts use the Histone template engine for rendering content. The Histone template engine uses its own proprietary language for defining templates. |
...
Please note that there is scant information on Histone scripting available. Many of the links to more thorough documentation that worked in the past are no longer valid. If you find a good link to more thorough Histone docuentation, please add it as a comment to this page. |
In This Topic
| Table of Contents | ||||
|---|---|---|---|---|
|
...
Another example: the figure below shows Layout B which contains a text input field that with a light green background:
...
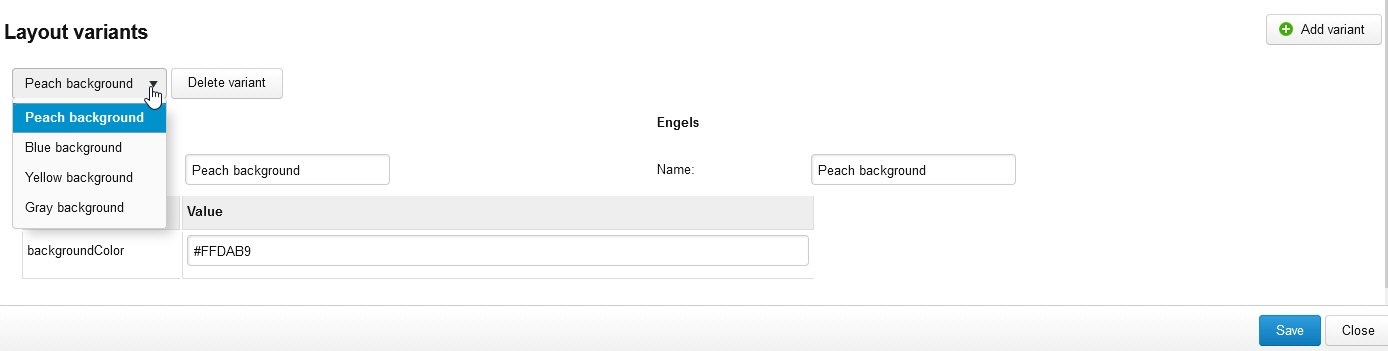
When two or more layout variants have been created, you can select them from the drop-down list. For example:
Placing a Layout Variant on a Content Item
...
- Navigate to the content item on which you want to place the layout variant.
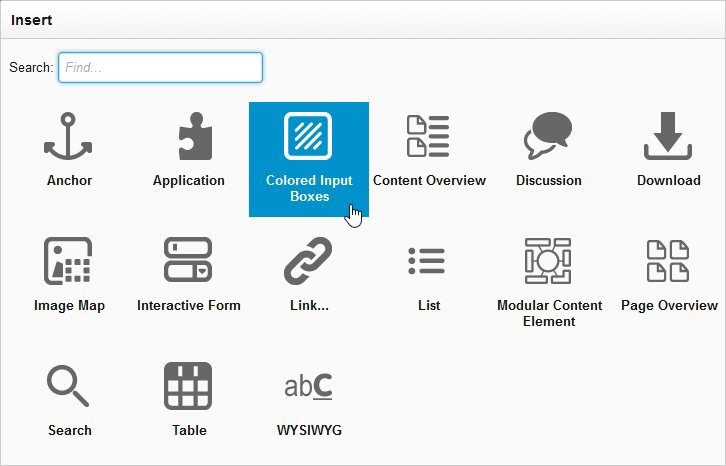
- Click [Insert] to select the layout containing the variant.
- Select the Layout from the Insert dialog box. For example:
The head layout is placed on the content item. - Click in the layout to expand the drop-down list in order to select the variant. For example:
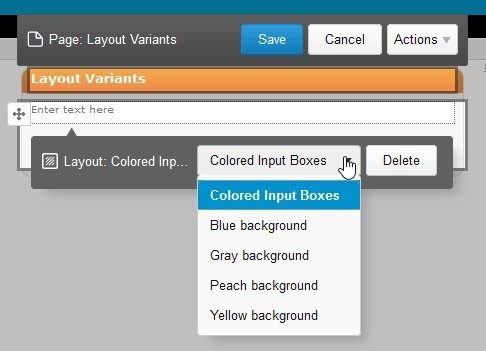
The head layout appears at the top of the list and the variants below it. - Select the layout variant from the list. It appears on the content item. For example:
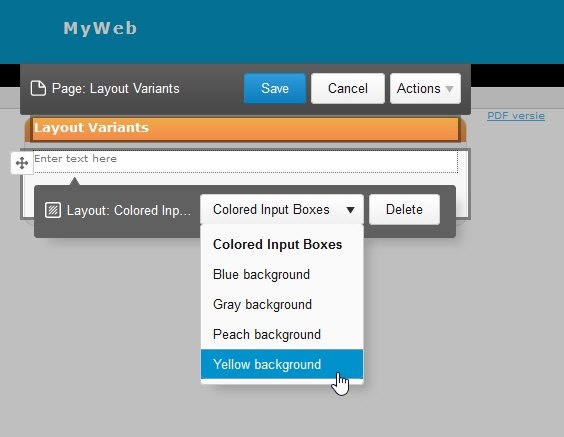
the result: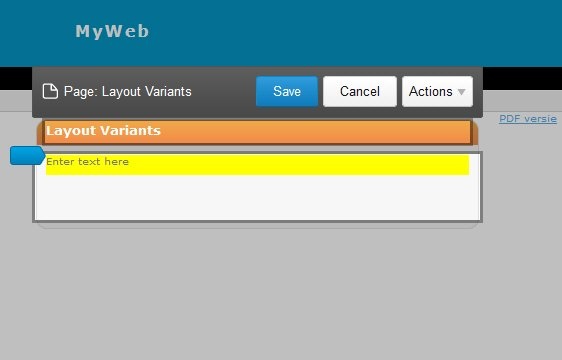
...
| Anchor |
|---|
...
|
...
|
...
|
...
|
| Panel | ||||
|---|---|---|---|---|
| ||||
The layout export functionality was introduced in XperienCentral version R30. |
...
| Code Block | ||
|---|---|---|
| ||
<div class='tabs'>
<style>
DIV.tab_row {
    width: 100%;
}
DIV.tab_row > DIV {
    width: 150px;
    border: 1px solid #000000;
    border-bottom: 0px;
    border-top-left-radius: 6px;
    border-top-right-radius: 6px;

    color: #000000;
    background-color: #eeeeee;
    padding: 6px;
    margin-right: 10px;

    float: left;
    position: relative;
    top: 1px;
}
DIV.tab_panes {
    clear: both;
}
DIV.tab_panes > DIV {
    border: 1px solid #000000;
    padding: 4px;
}
DIV.tabs:after, DIV.tab_panes:after {
    content: " ";
    display: block;
    height: 0px;
    clear: both;
}
DIV.tab_row > DIV.tab_active {
  background-color: #ffffff;
  border-bottom: 1px solid #ffffff;
}
DIV.tab_row > DIV.tab_inactive {
  border-bottom: 1px solid #000000;
}
DIV.tab_panes > DIV.tab_inactive {
  display: none;
}
</style>
<script>
function tabActivate(rootnode, selectedindex) {
    function activatePane(panes, selectedindex) {
        for (var i=0; i < panes.length; i++) {
            var classname = panes[i].className.replace("tab_active","tab_inactive");
            panes[i].className = classname.replace("tab_inactive",
                i === selectedindex ? "tab_active" : "tab_inactive");
        }
    }
    activatePane(rootnode.querySelectorAll("div.tab_row > div"), selectedindex);
    activatePane(rootnode.querySelectorAll("div.tab_panes > div"), selectedindex);
    return false;
}
</script>
  <div class='tab_row'>
    {{for item in content}}
      <div onclick='return tabActivate(this.parentNode.parentNode,{{self.index}});' class='{{if self.index is self.first0}}tab_active{{else}}tab_inactive{{/if}}'>{{item.title}}</div>
    {{/for}}
  </div>
  <div class='tab_panes'>
    {{for item in content}}
      <div class='{{if self.index is self.first0}}tab_active{{else}}tab_inactive{{/if}}'>{{item.body}}</div>
    {{/for}}
  </div>
</div> |
...
Each field must be the only content of its parent tag. A solution to this problem would be to add an extra <div> around the fields themselves. Don't forget that CSS can be used to add text content.
Fields must often be the child of one dedicated <span> tag
Because of the way XperienCentral sometimes adds <span> elements when editing, sometimes editing a field can cause strange behavior. Some of the text becomes uneditable or the cursor keeps jumping to the first position.
To prevent this: add the field inside one dedicated <span> tag.
Layouts Must Only Output One Root Node
...