| Anchor | ||||
|---|---|---|---|---|
|
The personalizations that are available for you to assign to content are typically created and maintained by an Application Manager and/or Main Editor. For complete information on creating personalizations, see Personalize. Content personalization works hand in hand with Personas in XperienCentral. Once you have personalized content, you can preview how content in XperienCentral appears to users who belong to a persona. For complete information on previewing personalized content, see Personas.
You can personalize rich text in the Editor as well as the content in layouts. Personalizations apply to content elements as a whole.
In XperienCentral Beginning in XperienCentral version 10.18.0 and higher, the way you personalize content has changed from previous versions. Expand the section below that corresponds with to your version of XperienCentral.
| Expand | ||||||||||||||||||||||||||||||||||||
|---|---|---|---|---|---|---|---|---|---|---|---|---|---|---|---|---|---|---|---|---|---|---|---|---|---|---|---|---|---|---|---|---|---|---|---|---|
| ||||||||||||||||||||||||||||||||||||
In This Topic
Personalizing content is achieved by adding personalization variants to contentassigning content to a personalization variant. A personalization variant determines the conditions for showing personalized content and what that content is. Personalization variants can be nested within each other as well as stacked. Nested PersonalizationsPersonalizations nested within each other can be visualized as follows:
and they can also be grouped (stacked), which allows you to define multiple variants that occupy the same position within a content item. See Grouping Personalization Variants and Nesting Personalization Variants for complete information. To personalize content, follow these steps:
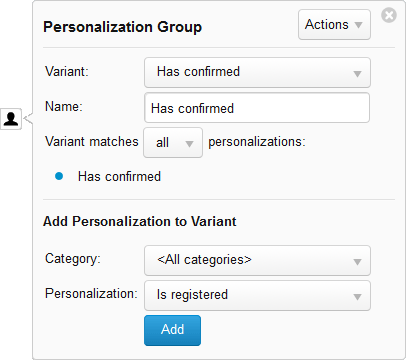
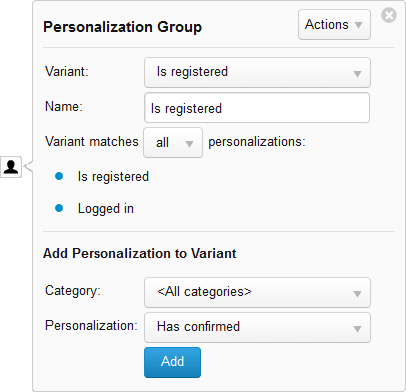
When a personalization group contains just one variant, the default name of the variant is the name of the personalization ("Has confirmed" in this example). When you are in Edit mode, the content appears in the color assigned to the personalization.that has been personalized is surrounded by a dashed outline. There are two different indicators: Personalized content - not selected
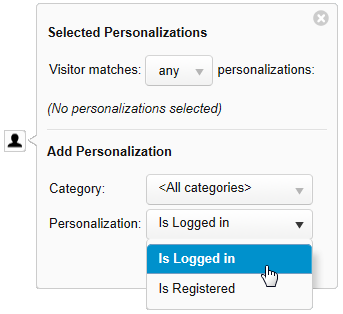
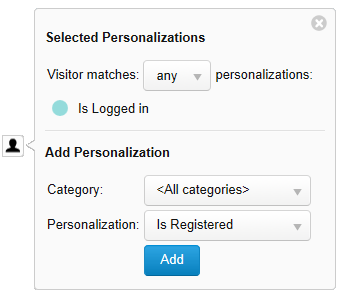
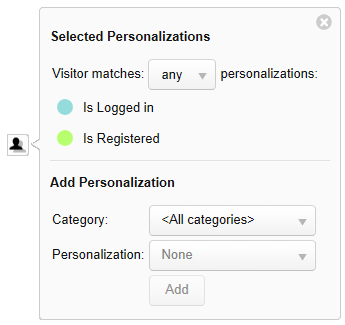
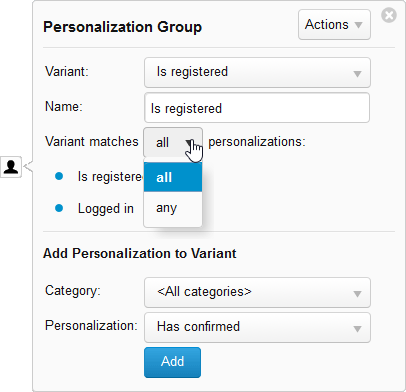
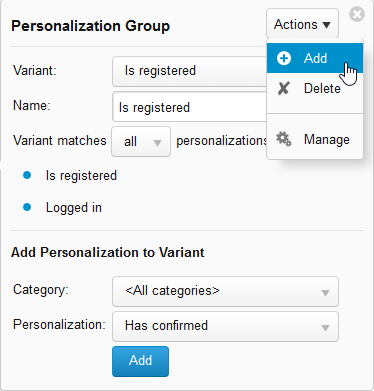
Color CodingXperienCentral uses color coding to indicate that content has one or more personalization assigned to it. Once a color has been assigned to a personalization, then that same color is used for that personalization everywhere it is used in the web initiative. For example, if you create a personalization named "Is Logged In" and XperienCentral assigns it to appear green, then from that point on, "Is Logged In" will always appear green wherever it is used and no other personalization can be assigned to green. Personalizations are managed by your application manager. Contact him or her for complete information on which personalizations are available for use.Back to top Multiple PersonalizationsYou can assign more than one personalization to the same contenta variant. When you do so, you have the option of defining whether there is an "AND" or "OR" relationship between the personalizations. When "AND" (all) is defined, the content will only be displayed when all personalizations are matched. When "OR" (any) is defined, the visitor will see the content when they match any of the assigned personalizations. To assign multiple personalizations to contenta variant, follow these steps:
Editing Personalization Assignments
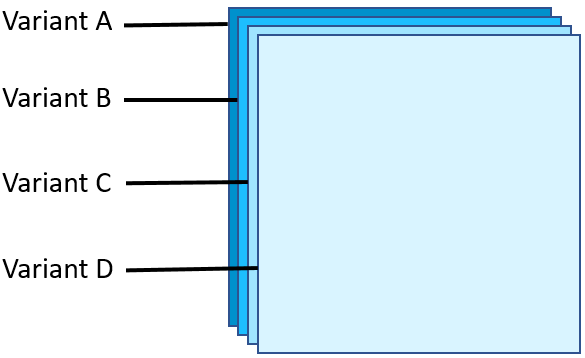
Grouped personalization variants are variants that are assigned to the same position on a content item. When you group or stack personalization variants, only one can be triggered depending on the defined conditions. You determine the order in which personalization variants are evaluated and triggered. Grouped personalization variants can be visualized as follows:
As you can see, the stacked personalization variants are all assigned to the same location on the content item. When a website visitor matches a personalization variant, the content assigned to that variant is shown. When variants are grouped, only one of them is triggered. To group personalization variantsTo modify the personalization(s) assigned to content, follow these steps:
Removing a PersonalizationTo remove a personalization from content, follow these steps:
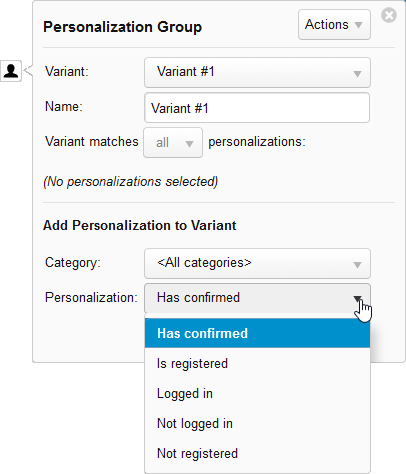
Adding Content for a New Variant in the GroupAfter adding a new variant to the group, the content belonging to the previously selected personalization variant disappears and new content can now be added for the new variant. The dashed box denoting the location of the variant "block" surrounding the location of the personalization area will be empty. For example:
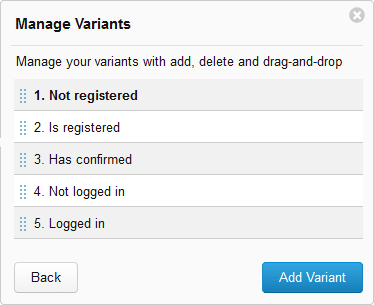
Click within this area and add content as you normally would (type rich text directly in the area or click [Insert] and add a content element or layout). Defining the Order of EvaluationWhen personalization variants are grouped, only one of them is allowed to be triggered. You define the order that the variants are evaluated or stepped through to define the personalized content that the visitor will see. To do so, follow these steps:
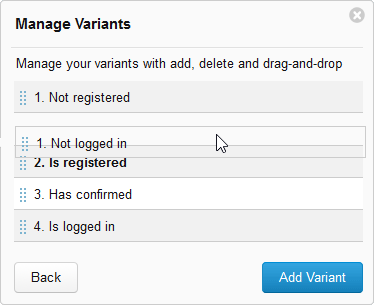
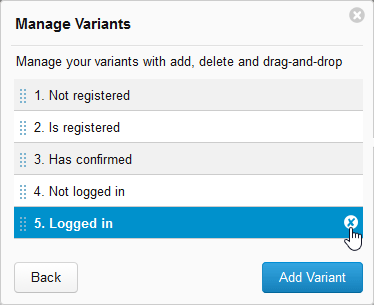
The personalization(s) assigned to the first variant that is matched will be shown to the website visitor. To change the evaluation order, click and drag a variant up or down in the list. For example:
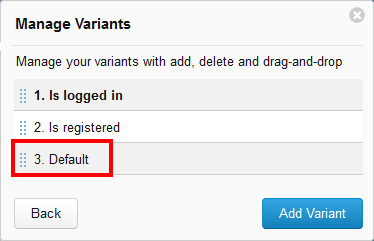
Setting a Default Personalization VariantWhen a personalization variant group is defined for a content area, it can be the case that none of the variants in the group is triggered. For this reason it is a good idea to add default content that displays for all visitors who do not belong to any of the defined facets. To do so, follow these steps:
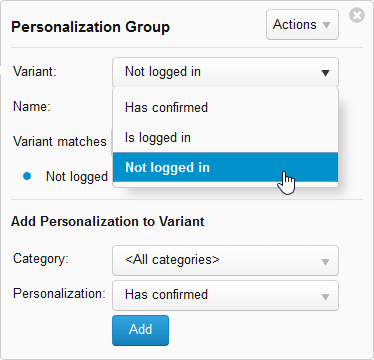
Cycling through Variants in a Personalization GroupWhen a personalization group has been defined, naturally only one of the variants can appear at a time in the Editor. When you first open a content item containing a personalization group, the first one in the list (#1) is the one that will appear at the location of the group. When you are actively editing a content item and you select a different variant from the drop-down list, the last variant that you selected will be the one that displays throughout the time you are active on the content item. The first one in the list will always be shown after you either navigate away from the content item and return or after a browser refresh. To cycle through the variants, click the personalization icon Double-click on the name of the variant:
Select the variant from the drop-down list:
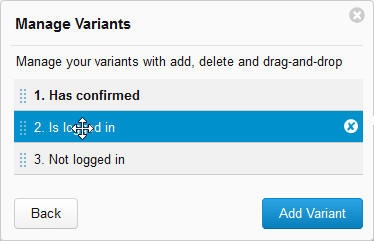
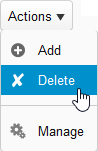
The content you added to the variant you select will appear in the personalization block. Deleting a Personalization VariantThere are two ways to delete a variant:
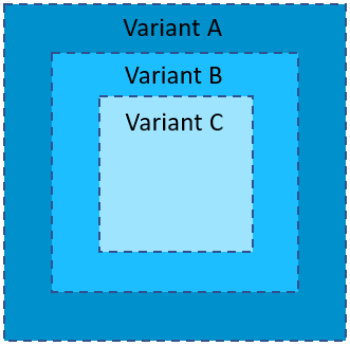
Content in a layout can be personalized just as rich text can in the Editor. Furthermore, the layout itself can fall within another personalization together with content in the Editor thus creating a nested situation. Personalization variants nested within each other can be visualized as follows:
When a personalization variant is nested within another, the content will not be shown unless the outer personalization variant is triggered. In the example above, personalization variant B cannot be triggered unless personalization variant A is triggered. Likewise, personalization variant C cannot be triggered unless both A and B are. Working with nested personalization variants is no different that working with single variants or grouped variants. See Creating a Personalization Variant and Grouping Personalization Variants.
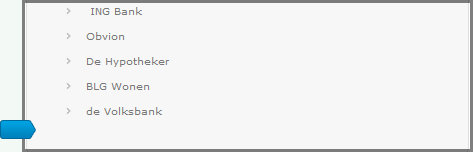
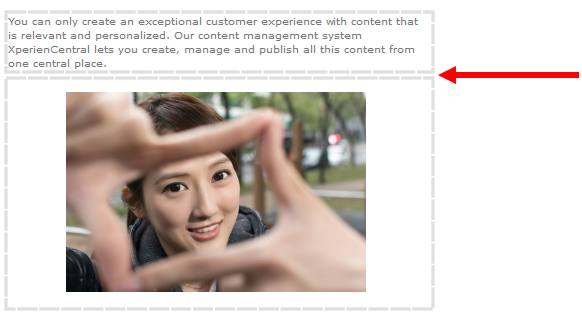
Because of the way that personalization variants are rendered with respect to other content in the Editor, you can run into situations where you cannot add white space or other content between adjoining personalization variant blocks in the same way that you can between content elements and rich text. For this reason, two extra buttons become available in the Editor's toolbar that make it possible to add white space before or after a personalization variant block. Consider the following example - two personalization variant blocks abut each other and it is not possible to insert the cursor between them:
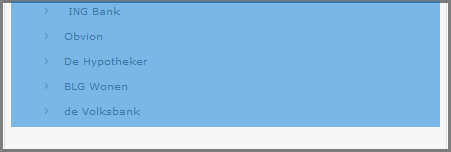
In such situations, two extra toolbar buttons can become available which make it possible to insert an empty line above or below a personalization variant block:
Click in a personalization variant block to make it active and then click the Insert Empty Line Above or Insert Empty Line Below button. An empty line is inserted at the desired location. You can now add new content between the personalization variant blocks. These buttons are only available when the conditions call for it. Sometimes you may see only one of these two buttons. 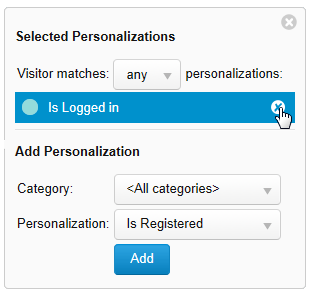 The personalization is removed from the content.
|


| Expand | |||||||
|---|---|---|---|---|---|---|---|
| |||||||
In This Topic
Adding PersonalizationsTo personalize content, follow these steps:
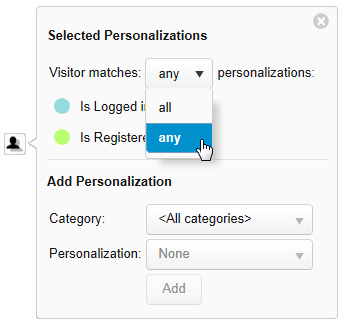
Color CodingXperienCentral uses color coding to indicate that content has one or more personalization assigned to it. Once a color has been assigned to a personalization, then that same color is used for that personalization everywhere it is used in the web initiativechannel. For example, if you create a personalization named "Is Logged In" and XperienCentral assigns it to appear green, then from that point on, "Is Logged In" will always appear green wherever it is used and no other personalization can be assigned to green. Personalizations are managed by your application manager. Contact him or her for complete information on which personalizations are available for use. Multiple PersonalizationsYou can assign more than one personalization to the same content. When you do so, you have the option of defining whether there is an "AND" or "OR" relationship between the personalizations. When "AND" (all) is defined, the content will only be displayed when all personalizations are matched. When "OR" (any) is defined, the visitor will see the content when they match any of the assigned personalizations. To assign multiple personalizations to content, follow these steps:
Editing Personalization AssignmentsTo modify the personalization(s) assigned to content, follow these steps:
Removing a PersonalizationTo remove a personalization from content, follow these steps:
|
...