This topic is for the application manager and main editor(s) responsible for configuring the coupling between page sections and the XperienCentral components required to display them. For information on creating the page sections themselves, see Page Section Widget.
Page sections are pieces of content that can be shown on multiple pages. Assigning page sections is done on the page level. Editing the content of a page section is done centrally in the Editor. A page section is just like a page: it has a title, a navigation title, a publication date, an expiration date, a state, and can have multiple language versions. You can place content elements on a page section just like you can place them on a page or article. A page section is only shown on a page if the page section has been assigned to that specific page. Page sections can be assigned in one step to a group of pages. The presentation of the page section is identical on every page on which it appears.
There are four conditions for a page section to be shown on a page:
- The page section must be in the published state and the publication date has to be in the past.
- At least one page section label has to be assigned to it.
- The page section label should be connected to a page part.
- The page section has to be assigned to the page.
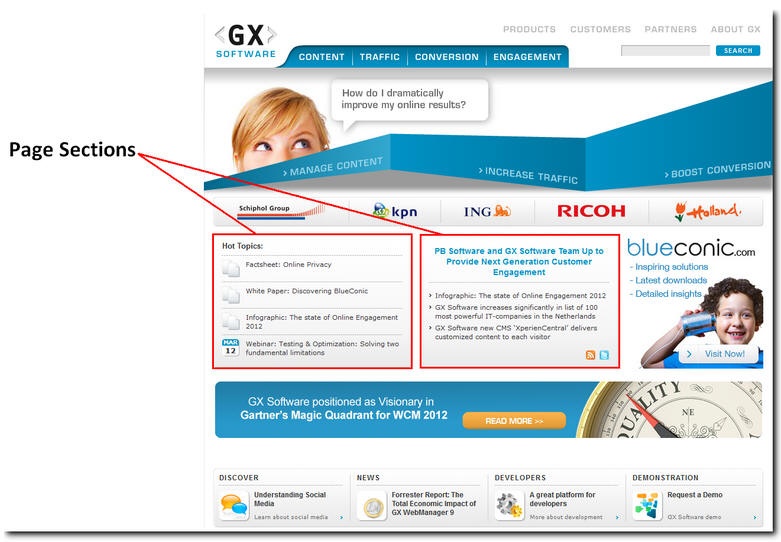
Page sections are typically used for content such as colophons, press releases, a search box, popular topics, contact information and so forth. The following example shows two page sections appearing on a web page:
In This Topic
Page Section Labels
Using page section labels, you couple page sections with page parts, thereby defining where a particular page section can be displayed on a page. The figure below shows how the configuration ties all the parts together.
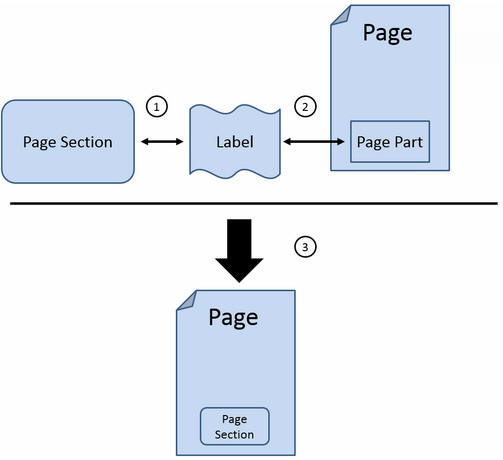
- A page section label is created.
- The page section label is added to a page part. This determines the position on the page where the page section will appear.
- The page section is assigned to a page. Because the page section label has been tied to the page part, this defines the position where the page section appears.
Creating Page Section Labels
To create a page section label, follow these steps:
- Navigate to the page section in the Page Section Widget.
- Go to the page section properties by either clicking [Edit] in the Properties Widget or by hovering the mouse over the title of the page section, clicking the Actions Menu icon, and then selecting "Edit Properties".
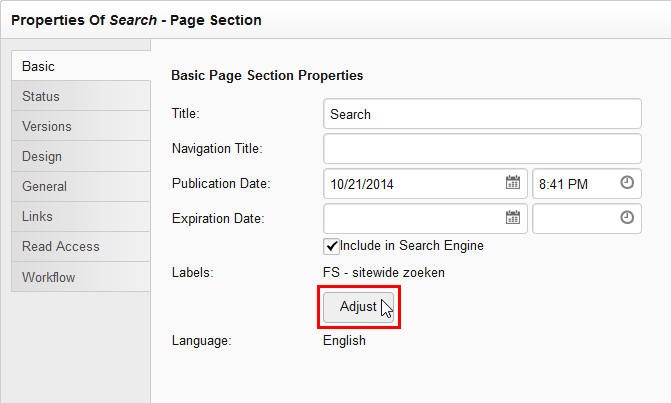
- By "Labels", click the [Adjust] button:
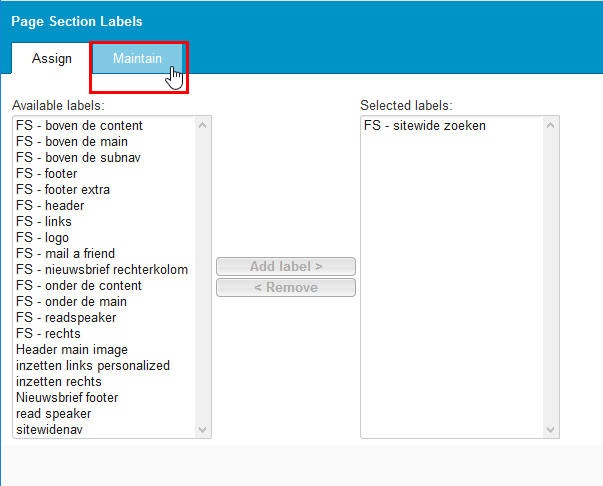
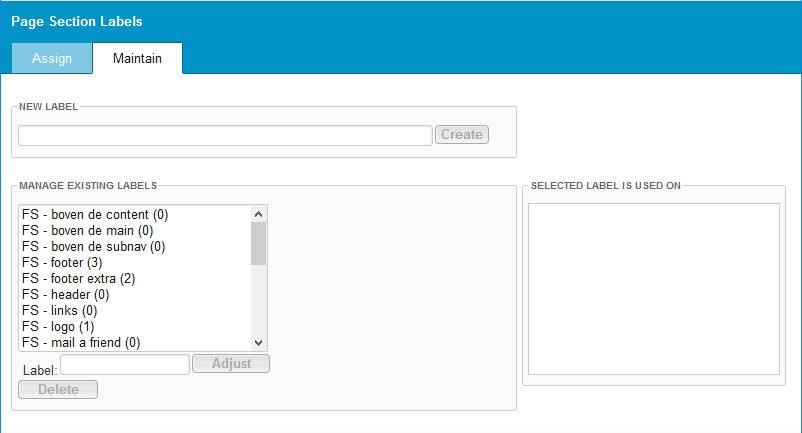
- Click "Maintain":
- In the "New Label" text field, type the name of the label and then click [Create]. The new label appears in the "Manage Existing Labels" list. Appended to the name of the label is a number in parentheses — this indicates the number of pages that the label is used on.
- Repeat the previous step for each label you want to create. For example:
Adding a Page Section Label to a Page Part
In XperienCentral, a web page consists of multiple page parts. Each page part has its own configuration such as a design template, the plane to which it is assigned, an identifier, and so forth. The adding of a page section label to a page part makes it possible to display the page section on that page part. Follow the steps below to add a page section label to a page part.
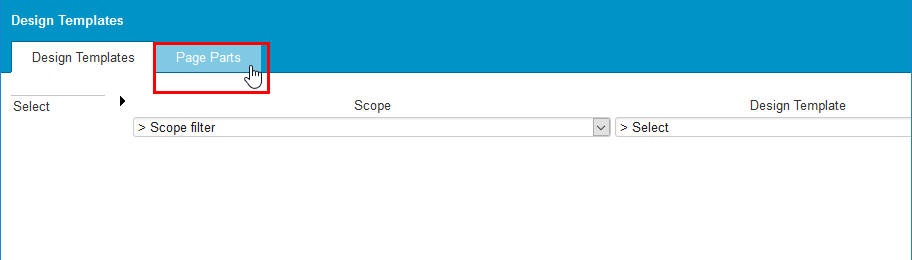
- Navigate to Configuration > Design Templates and click the [Page Parts] tab:
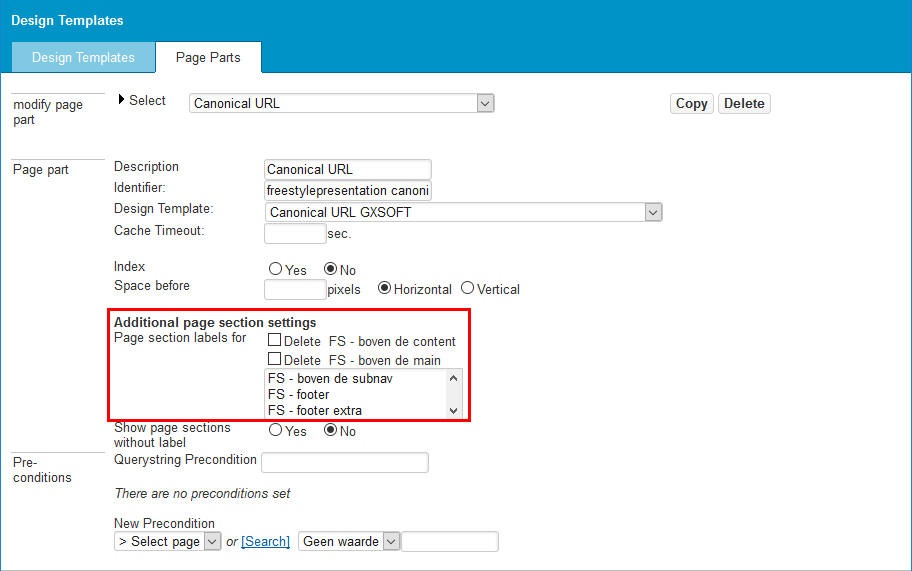
- Select the page part to which you want to assign the page section label from the drop-down list at the top of the "Page Parts" tab next to "Select". The properties for the page part appear.
- In the "Additional page section settings" list, select the label for the page section that you want to add to a page. It is possible to select more than one label.
- Click [Apply]. The page section label(s) are added above the list of available labels. For example:
- When you are finished modifying the properties for the page part, click [Apply] and then [Close].
Assigning a Page Section to a Page
Now that the page section label has been added to the page part, you can add the page section to a page. Follow these steps:
- Navigate to the page on which you want to display the page section in the Site Structure Widget.
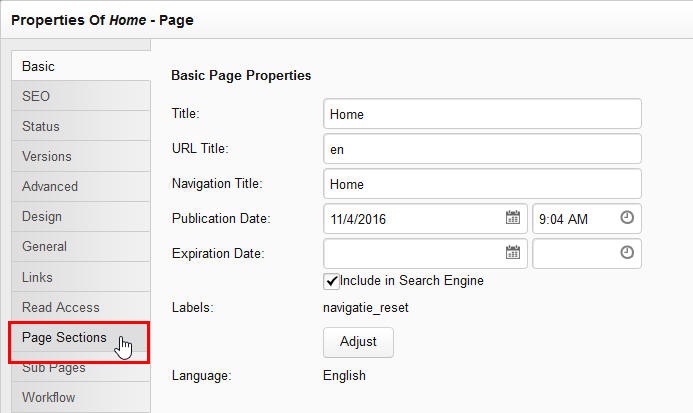
- Show the page properties by either clicking [Edit] in the Properties Widget or by hovering the mouse pointer over the page title, clicking the Actions Menu icon and then selecting "Edit Properties". The properties for the page display.
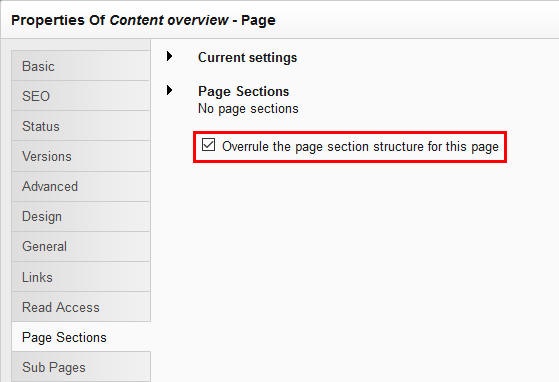
- Click the "Page Sections" tab:
- Select the "Overrule the page section structure for this page" checkbox. If the setting "Current Settings" is applied to the page, then it inherits the page section settings from a sibling or its parent page:
- Click [Apply].
- Select the title of the page section you want to show in the current page from the "Current settings" list and then click [Apply]. The page section is added to the list of page sections that will be shown on this page.
- Repeat the above step for each page section you want to add to the page. For example:
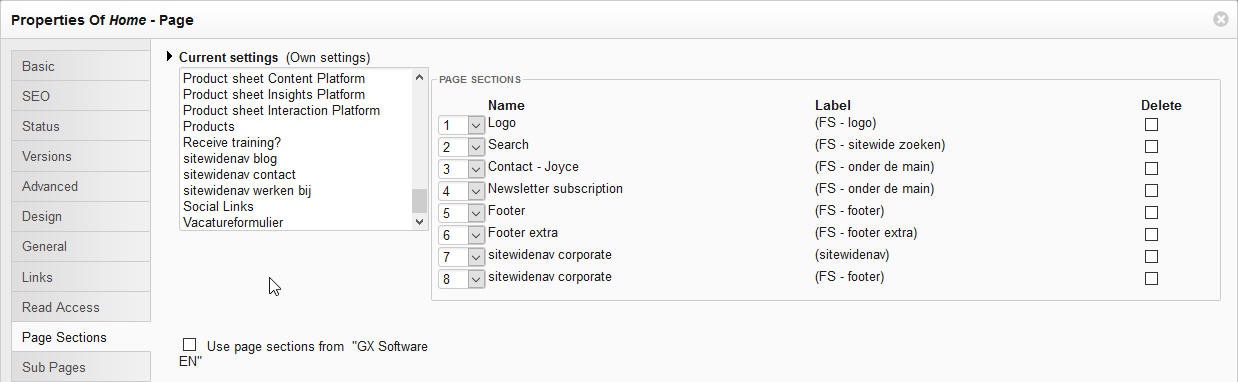
- If there are multiple page sections assigned to a page, you can change the order that they appear by selecting a different number from the drop-down list that appears to the left of the "Name" column.
- Click [Apply] and then [Close].
Language Versions
When more than one language version of your website exists, you can quickly and easily switch between the versions using the Language drop-down in a sidebar header or use the Language Widget in XperienCentral versions R31 and lower. When multiple language versions of page sections exist parallel to each other, the page section structures are identical, but the title of the page sections can be different as well as the workflow status.
Configuring the Page Section Edit Page
In XperienCentral, you can create page sections and fill them with content before assigning them to a specific page. This approach makes use of the "Page Section Edit page". In addition, you have to modify the settings of the page part that is used to display the page section. Once the configuration in this section has been performed, you can select a page section in the Page Section Widget and it will be displayed on the "Edit" page you create. You can then modify the content of the page section.
Configure the "Page Section Edit" Page
To configure the special page on which you can work with page sections, follow these steps:
- Create a new page using the Site Structure Widget or Create Content Widget. Give it a meaningful name such "Page Section Edit". You do not have to publish it.
- In the Workspace, navigate to Configuration > Channel Configuration.
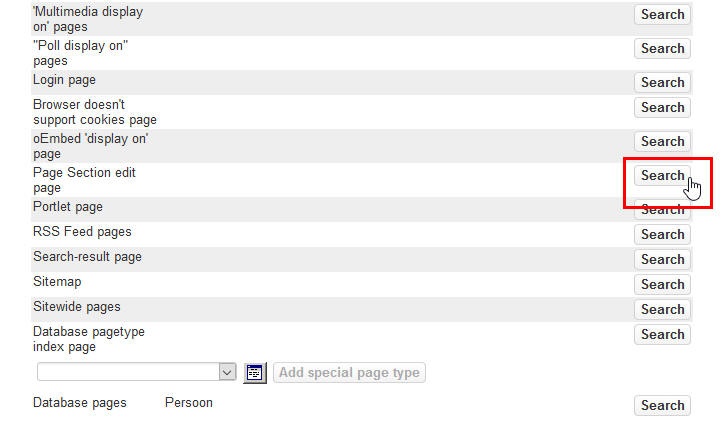
- Click the "Special Pages" tab to select it:
- Click [Search] next to "Page Section Edit Page":
- Select the page from the results by clicking it and then click [Select]. If the page you want to use does not appear in the list, type a full or partial string in the "Search" field to search for it. When you have located the page, click it and then click [Select]. The page now appears next to " Page Section Edit Page".
- Click [Apply] and then close.
Configure Page Part
Follow the steps below to configure a page part to show a page section without a label:
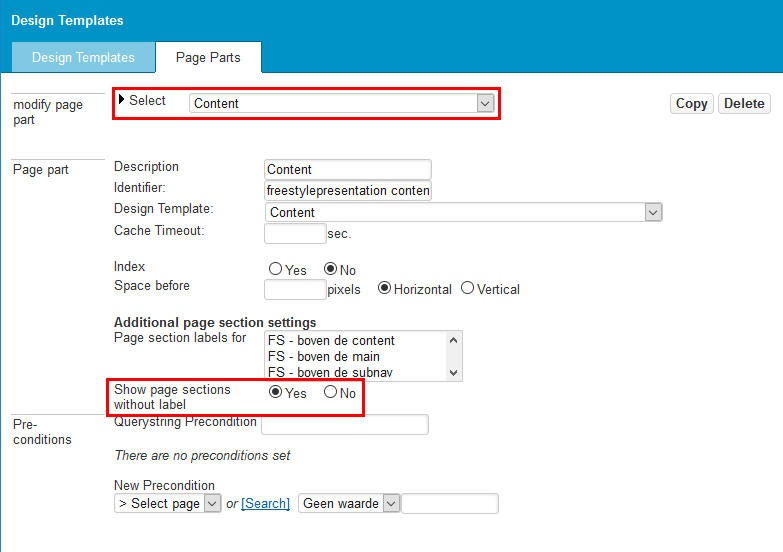
- Navigate to Configuration > Design Template and click the [Page Parts] tab.
- Select the page part where you want to show the page section from the drop-down list next to "Select".
- For the setting "Show page sections without label", select "Yes". For example:
- Click [Apply].